1668423704547.jpg&w=3840&q=75 "ServiceNow Portal: Websites with Low Codes, High Content")
Have you ever considered creating your own website or starting a blog? Perhaps you wish it was simple to build a website to promote your business. The complicated code makes a lot of people hesitant to enter the world of web design.
Your dream can come true with the help of the ServiceNow partner portal. Let this article guide you to something you've wanted to undertake but have been hesitant to because of webs and bugs.
Service Portal
As an alternative to the default ServiceNow UI, the ServiceNow partner portal offers the service portal as a ServiceNow interface. Accessing the default service site is made simple by just using this URL:
https://<your-domain>.service-now.com/sp
This default version can be used as a ticketing tool for an employee in an organization, request a service, get the answer to a query, etc. The personalized version can be whatever you have in your mind that you want to be reflected on your page. So, let's get started.
ServiceNow Terminologies
Let's get acquainted with some of the terminologies used by ServiceNow portal or ServiceNow partner portal.
- Pages: Portals contain one or more pages in them. These are the user-interfaces that appear on the desktop, tablet, or mobile screens whenever a site is opened.
- Containers: Pages have elements called containers. These containers come to be used to organize or design a page into sections. A page can contain as many containers as required. One container can have unlimited rows but should have a specific number of columns.
That's it! Your page is ready in just three easy steps. Create your content using widgets, arrange it into containers on your page, and then brand it. Simple as pie!
All in one place
In the navigation pane, under Service Portal, go to Service Portal Configuration; you can find all the necessary elements of your work in one place.

Some elements are mentioned above:
- Branding Editor: Set your page's look, header, footer, theme, background color, text color, and so on.
- Designer: Set the page layout using containers and widgets here while you preview the changes you make.
- Page Editor: Investigate the hierarchical map to view and edit the page elements.
- Widget Editor: Creates the content.
- New Portal: Creates a new service portal
Read More: inMorphis Leading the Implementation of ServiceNow ITSM (IT Service Management)
First things first: Widgets
Widgets are the main contents of the page. They are reusable, i.e., one widget is useable in other service portals created.

ServiceNow partners or any ServiceNow partner portal provide different ServiceNow baseline widgets for a page. All the out-of-the-box widgets get their periodical update. By cloning a widget, we create a new custom widget with all the same features as the out-of-the-box widget but will lack the periodical update from ServiceNow.
Cloned widgets are considered custom widgets; hence they can be personalized.
Navigate to Service Portal -> Widgets, open your custom widget and edit the HTML, CSS, client script, or server script according to your need.
Read More: Skills Required for ServiceNow Developer
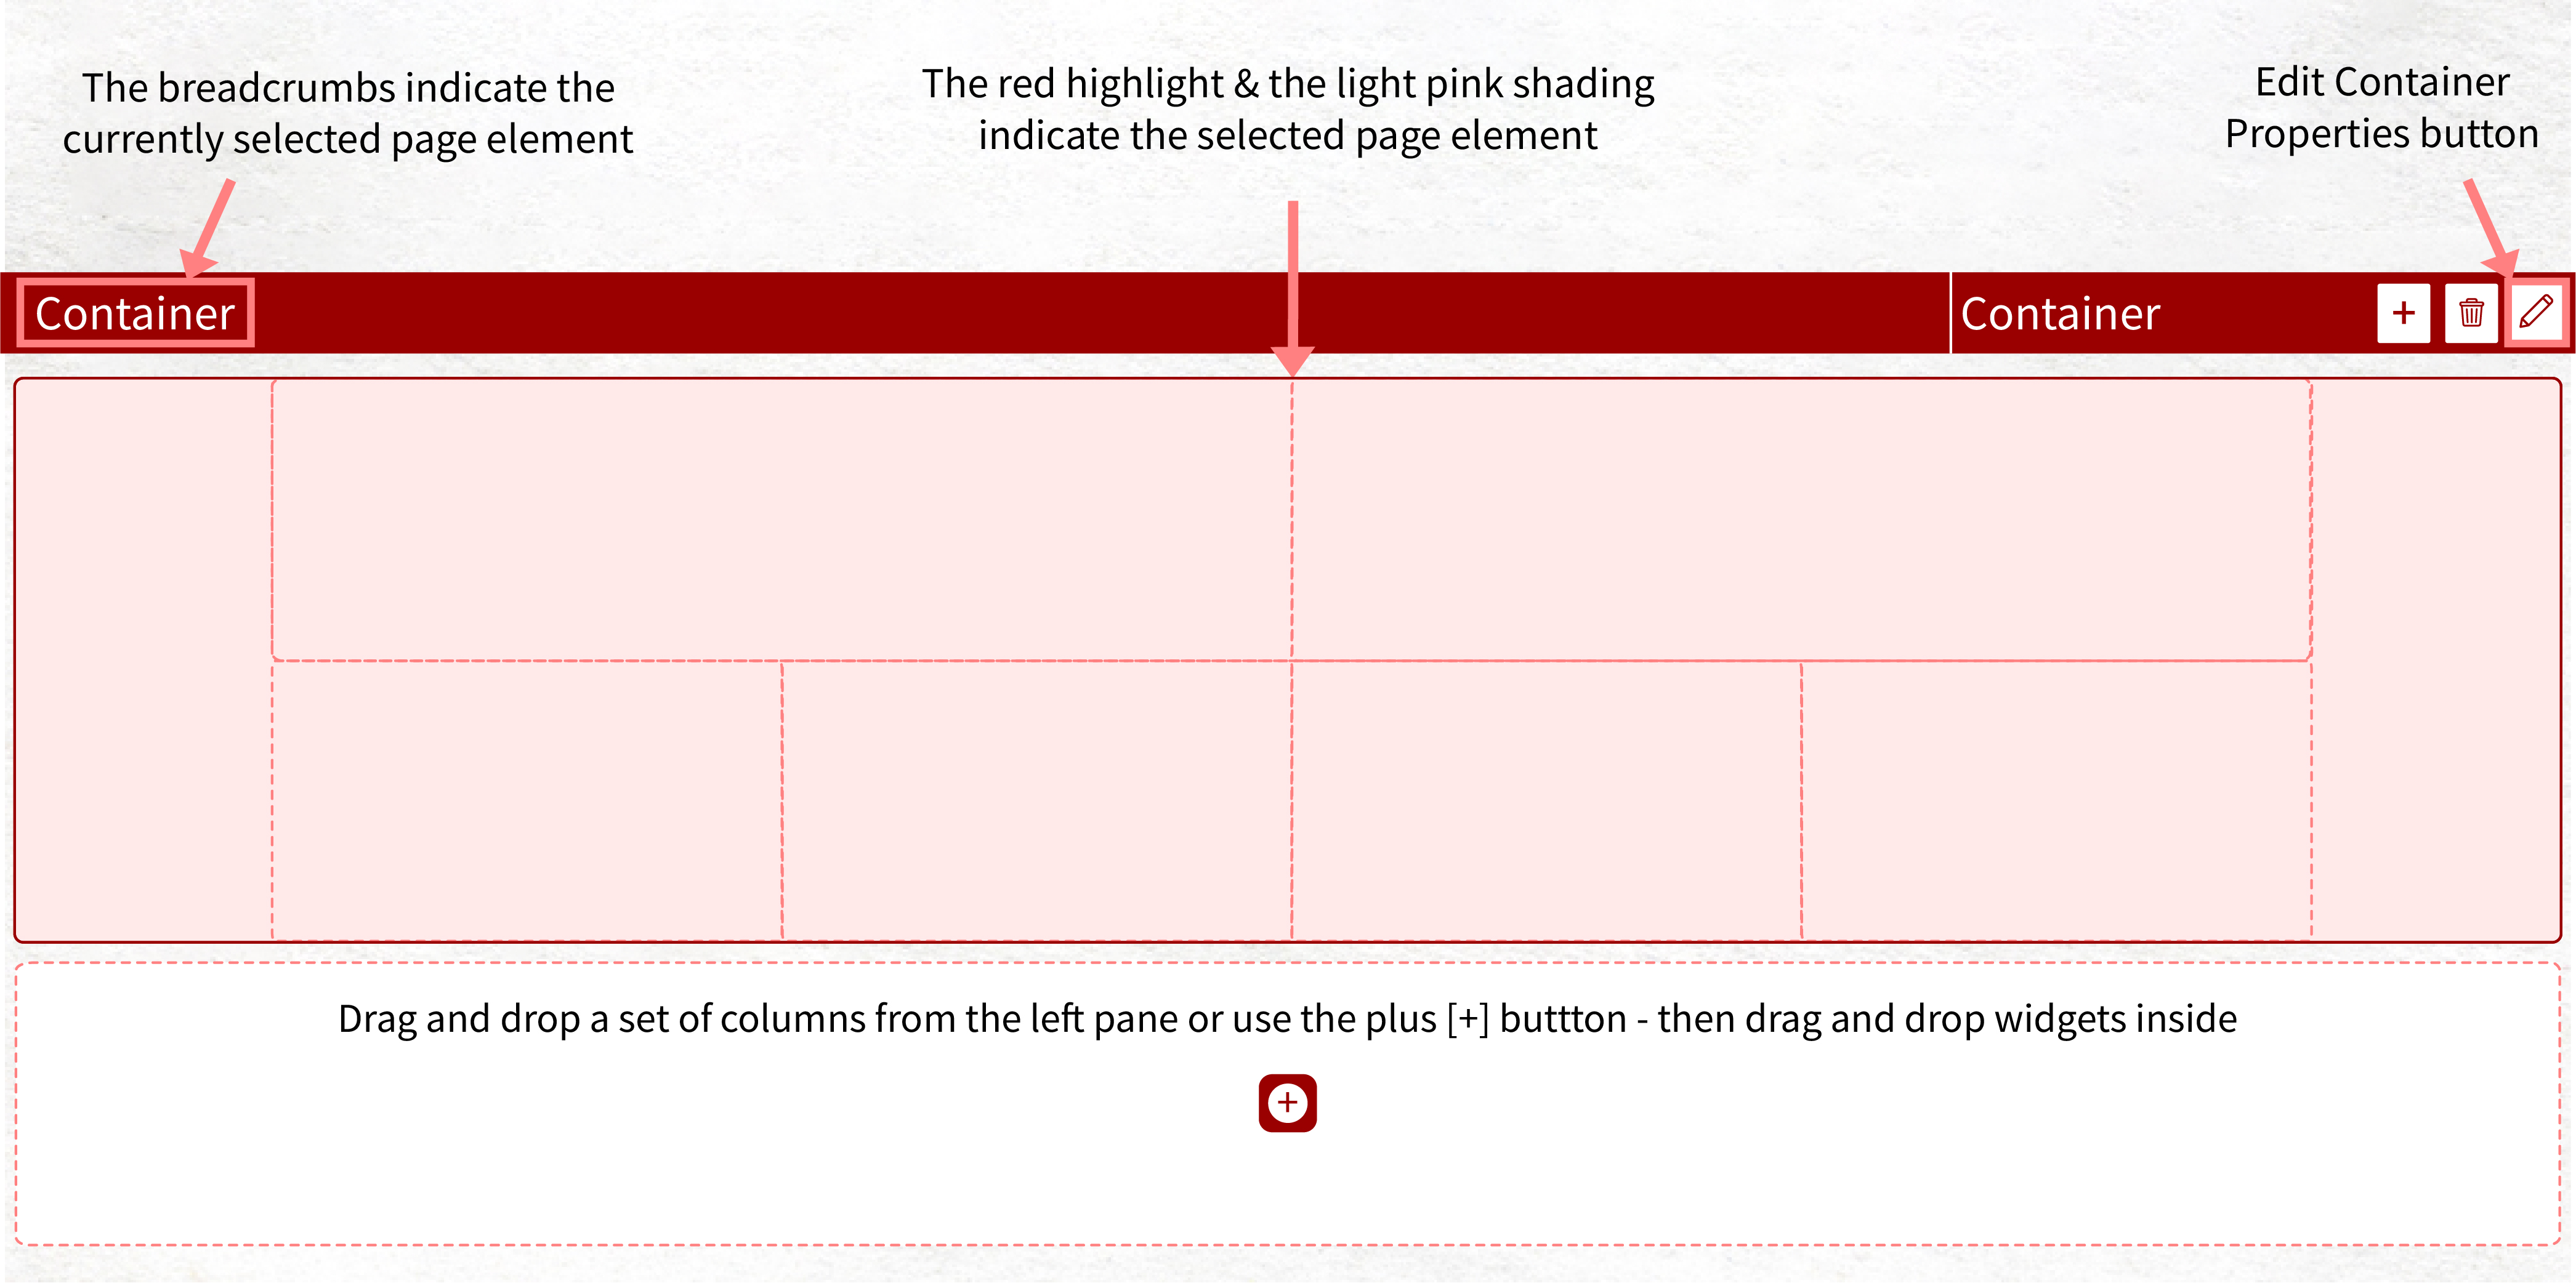
Containers
Containers divide the page into different sections that hold the widgets. They are used to form the layout of the page.
Containers can contain many rows and columns, following a container and a bootstrap grid system that divides the rows into 12 columns.
Containers are dragged and dropped onto a page, and rows are added inside a container (using the same drag-and-drop method).

Click on the container, and the pencil sign (edit button) will appear. You can edit containers to change the properties of the container, i.e., the size, background color, CSS style, etc.
Page
Users see pages on the screen when they open a site/link. Clubbing together all the widgets created or added from the ServiceNow baseline gives the page what the users usually interact with. Like the widgets, pages can also be used in different portals.- To create a portal page, go to Service Portal Configurations > Designers.
- Click on ‘Add a new page’ link.

- Enter the page title (Page ID is automatically populated).
- To edit the page you just created, use the able way to add containers and widgets.

Portal
Now that when all the prerequisites of creating a portal are ready, namely page and widgets, go to Service Portal Configuration and click on New Portal.
Fill in all the required column details like the page's icon, homepage error, page theme, and header and footer. The page is ready.
Read More: The Power of ServiceNow IT Operations Management with inMorphis
Before Parting
To get the perfect result for your web page, follow the mantra: read, practice, and repeat, which all ServiceNow partners know.
- Read more on how to improve the widget by using CSS and HTML. Read the codes used in baseline widgets as a starting point. What can be done to a page using portal client and server scripts?
- Practice the ideas and theories that come to your mind while learning/reading concepts, no matter how small or big, sane or insane. Try all your ideas out.
- Repeat the above two steps always.
Conclusion
In conclusion, creating a website or a blog can be daunting, especially for those without any web designing experience. However, ServiceNow Partner Portal offers a low-code, high-content solution that simplifies the process.
With the help of Service Portal, ServiceNow Terminologies, Widgets, Containers, and Pages, creating a website is made possible in just three easy steps. The ServiceNow portal provides everything in one place, making it easier to create a personalized website or blog without any hassle. So, if you are looking for an easy and efficient way to create a website, the ServiceNow Partner Portal might be the perfect solution for you.